Japanese Katsu Bowls: A Delicious Guide to Making Authentic Katsu at Home
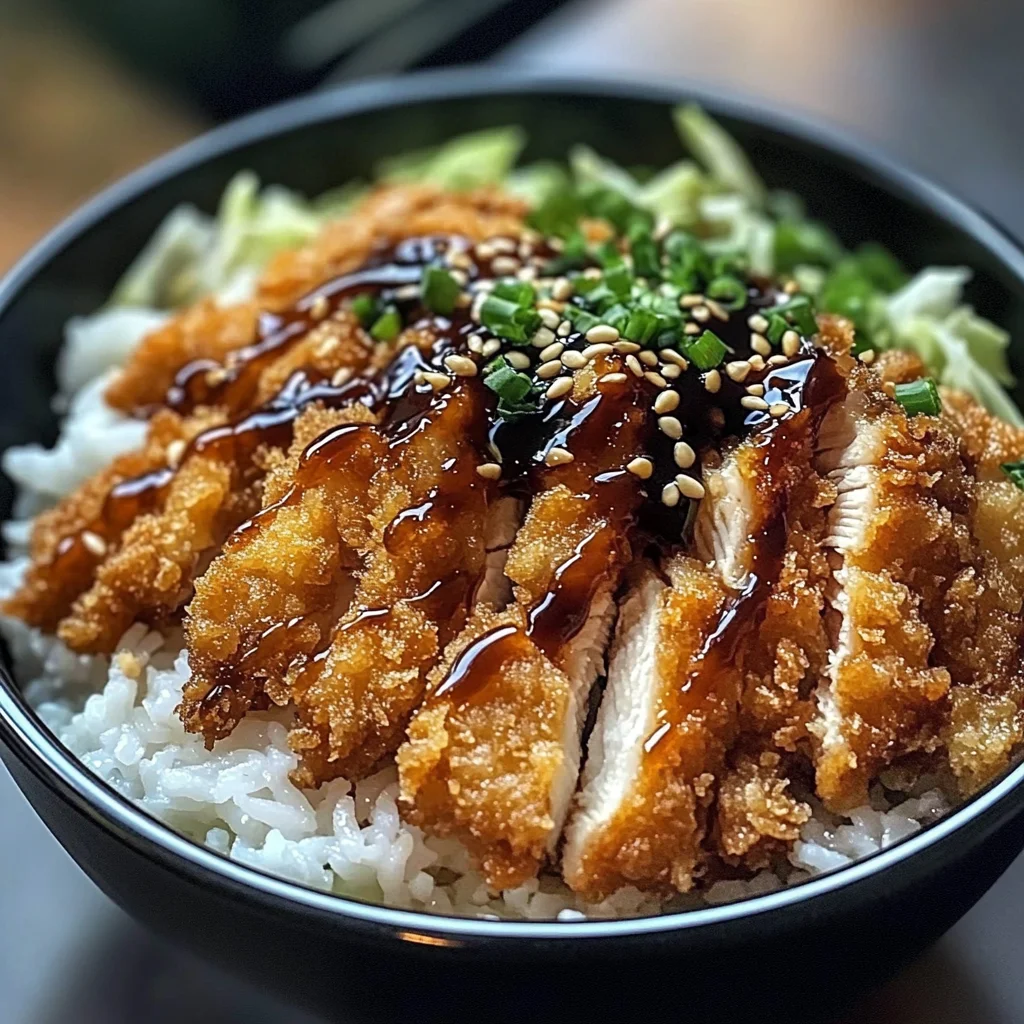
If you’re looking for a comforting meal that can bring the family together, then you’ve stumbled upon the right place! Japanese Katsu Bowls: A Delicious Guide to Making Authentic Katsu at Home is one of my favorite recipes to whip up on busy weeknights or during cozy weekends. The crispy chicken paired with fluffy rice and tangy sauce is simply irresistible. It’s a dish that feels special yet remains so easy to prepare, making it perfect for both casual dinners and family gatherings.
Every bite of this Chicken Katsu transports me straight to my favorite Japanese restaurant, yet I love knowing I can recreate that experience in my own kitchen. Trust me, once you try this recipe, it might just become a staple in your home as well!
Why You’ll Love This Recipe
- Quick and Easy: This recipe comes together in just about an hour, making it perfect for those weeknight dinners when time is short.
- Family-Friendly: Kids and adults alike will love the crunchy exterior and juicy interior of the katsu—it’s always a hit!
- Customizable: Feel free to switch up proteins or toppings based on what you have on hand or your family’s preferences.
- Make-Ahead Friendly: You can prepare the rice and sauce ahead of time so that assembling dinner is a breeze.
- Irresistible Flavor: The combination of crispy katsu, seasoned rice, and tangy sauce creates layers of flavor that are simply delicious.

Ingredients You’ll Need
Gathering the ingredients for your Japanese Katsu Bowls is simple and fun! These wholesome items come together beautifully to create a meal that’s both satisfying and delightful. Here’s what you’ll need:
For the Katsu
- 2 boneless chicken breasts (or beef loin, if preferred)
- Salt and pepper, to taste
- 1 cup all-purpose flour
- 2 large eggs
- 1 cup panko breadcrumbs
- Vegetable oil, for frying
For the Rice
- 2 cups Japanese short-grain rice
- 2 ½ cups water
- 1 tablespoon rice vinegar
- 1 tablespoon sugar
- ½ teaspoon salt
For the Sauce
- ¼ cup tonkatsu sauce (or store-bought if you prefer)
- 1 tablespoon soy sauce
- 1 teaspoon Worcestershire sauce
- 1 teaspoon ketchup
For Garnish
- 1 cup shredded cabbage
- 2 green onions, sliced
- Sesame seeds, for garnish
- Pickled ginger (optional)
Variations
One of the best things about this recipe is its flexibility! You can easily adapt it based on what you enjoy or have in your pantry.
- Swap the protein: If you’re not in the mood for chicken, try using thinly sliced beef loin or even tofu for a vegetarian version!
- Add more veggies: Toss in some stir-fried bell peppers or carrots for added color and nutrition.
- Change up the sauce: Experiment with different sauces like spicy mayo or even teriyaki for a unique twist.
- Try different grains: Instead of rice, serve your katsu over quinoa or cauliflower rice for a lighter option.
How to Make Japanese Katsu Bowls: A Delicious Guide to Making Authentic Katsu at Home
Step 1: Rinse and Soak the Rice
Start by rinsing the rice under cold water until it runs clear. This step is key as it removes excess starch, preventing your rice from becoming gummy. After rinsing, soak the rice in water for 30 minutes; this helps achieve that perfect chewy texture.
Step 2: Cook the Rice
Transfer the soaked rice to a saucepan and add 2 ½ cups of water. Cover and bring it to a boil over medium heat. Once boiling, reduce the heat to low and let it simmer without lifting the lid for 15 minutes. Afterward, turn off the heat but keep it covered for another 10 minutes. Letting it rest allows flavors to meld beautifully.
Step 3: Season the Rice
In a small bowl, mix together rice vinegar, sugar, and salt until dissolved. Gently fold this mixture into your cooked rice. This adds an authentic touch that enhances each bite!
Step 4: Prepare the Chicken
Pound your chicken breasts to an even thickness of about ½ inch; this ensures they cook evenly while remaining juicy inside. Season both sides generously with salt and pepper—a little seasoning goes a long way in elevating flavor.
Step 5: Set Up Your Breading Station
Create your breading station with three shallow dishes: one with flour, one with beaten eggs, and one with panko breadcrumbs. This organized setup makes it easier to coat your chicken without making too much mess!
Step 6: Bread The Chicken
Dredge each piece of chicken first in flour, then dip into eggs before coating with panko breadcrumbs. Press gently so that breadcrumbs stick well—this will give you that delightful crunch we all love!
Step 7: Fry Until Golden
Heat vegetable oil in a skillet over medium-high heat. Fry each chicken piece for about 4-5 minutes on each side until golden brown and cooked through. The sizzling sound is music to my ears! Once done, drain them on paper towels to remove excess oil.
Step 8: Make The Sauce
In a bowl, combine tonkatsu sauce, soy sauce, Worcestershire sauce, and ketchup. Mix well—this tangy sauce brings everything together beautifully!
Step 9: Assemble Your Bowls
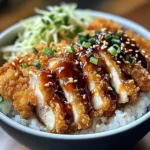
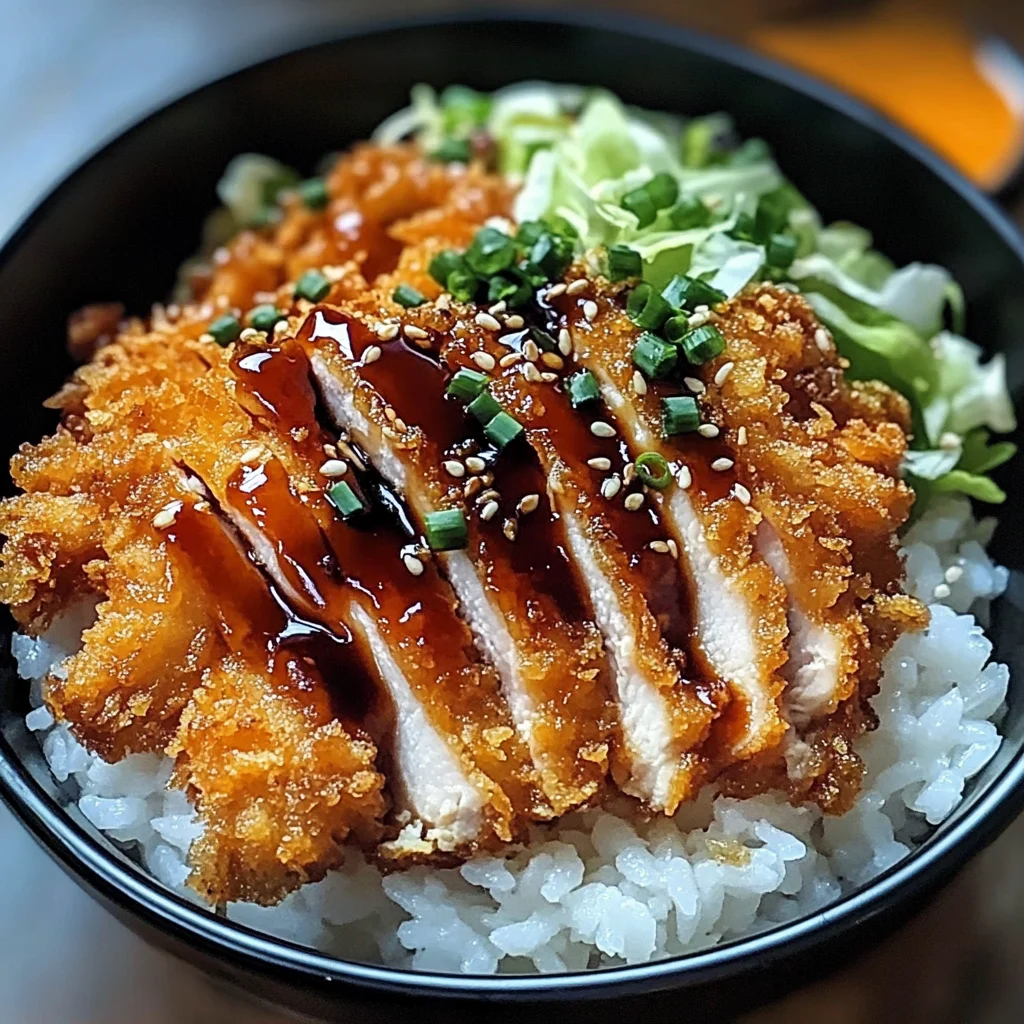
Now comes the fun part! Serve steaming hot rice on plates topped with sliced katsu. Add shredded cabbage and green onions on top before drizzling with your homemade sauce. Don’t forget sesame seeds as garnish! If you’re feeling adventurous, add some pickled ginger on the side.
And there you have it! A delicious homemade Chicken Katsu served with perfectly seasoned rice and tangy sauce that’s sure to impress anyone who takes a bite! Enjoy every mouthful of this classic dish made right at home!
Pro Tips for Making Japanese Katsu Bowls: A Delicious Guide to Making Authentic Katsu at Home
Making katsu at home can be a fun and rewarding experience! Here are some pro tips to elevate your cooking game.
-
Choose the Right Chicken: Opt for boneless, skinless chicken breasts or beef loin for a tender and juicy katsu. Thinner cuts cook more evenly and absorb flavor better.
-
Perfect Your Breading Technique: Ensure that your chicken is well-coated by dredging thoroughly in flour, dipping in the egg, and coating with panko. This triple-layer technique creates that signature crunch you love!
-
Monitor Oil Temperature: Use a cooking thermometer to keep the oil at around 350°F (175°C). This ensures even cooking and prevents the katsu from becoming greasy.
-
Let It Rest: After frying, let the katsu rest on paper towels for a few minutes. This helps retain its crispiness while the steam escapes.
-
Customize Your Sauce: Feel free to adjust the tonkatsu sauce by adding more soy sauce or ketchup according to your taste preferences. A balanced sauce can make all the difference!
How to Serve Japanese Katsu Bowls: A Delicious Guide to Making Authentic Katsu at Home
Serving your homemade katsu bowl can be just as enjoyable as making it! Here are some delightful presentation ideas that will impress your family and friends.
Garnishes
- Shredded Nori: Adds a touch of umami flavor and a beautiful pop of color to your dish.
- Sesame Seeds: Sprinkle toasted sesame seeds over the top for an extra crunch and nutty flavor.
- Pickled Ginger: A side of pickled ginger not only enhances the dish’s presentation but also provides a refreshing contrast to the richness of the katsu.
Side Dishes
- Miso Soup: A warm bowl of miso soup complements the meal beautifully, offering comforting flavors that pair perfectly with katsu.
- Edamame: Lightly salted edamame is a healthy, protein-packed side that adds a nice green contrast to your plate.
- Japanese Potato Salad: Creamy potato salad with carrots and cucumbers is a delightful accompaniment that balances out the crispy texture of the katsu.
- Cucumber Salad: A simple cucumber salad dressed with rice vinegar is refreshing and adds brightness, making it an excellent palate cleanser alongside your hearty katsu bowl.
Now you’re ready to create an authentic Japanese dining experience right in your own kitchen! Enjoy every delicious bite.

Make Ahead and Storage
This Chicken Katsu recipe is perfect for meal prep! You can easily make it ahead of time and enjoy delicious, homemade meals throughout the week. Here’s how to store and reheat your katsu bowls effectively.
Storing Leftovers
- Store any leftover katsu in an airtight container in the refrigerator for up to 3 days.
- Keep the rice and chicken separate to maintain their textures.
- Store the sauce in a small container to prevent sogginess.
Freezing
- To freeze, let the chicken katsu cool completely before wrapping each piece tightly in plastic wrap and then placing them in a freezer-safe bag.
- Rice can also be frozen; let it cool, then transfer into a sealed container or freezer bag.
- Use within 2 months for the best quality.
Reheating
- For best results, reheat chicken katsu in a skillet over medium heat until heated through and crispy again.
- Rice can be reheated in the microwave; add a splash of water to create steam and keep it moist.
- Drizzle with fresh sauce before serving for extra flavor.
FAQs
Here are some common questions about making Japanese Katsu Bowls at home.
Can I use beef instead of chicken for Japanese Katsu Bowls?
Yes! This recipe allows you to substitute boneless chicken breasts with beef loin if you prefer. Just follow the same preparation steps for breading and frying.
How do I make gluten-free Japanese Katsu Bowls?
To make gluten-free katsu, use a gluten-free flour blend instead of all-purpose flour and replace panko breadcrumbs with gluten-free alternatives available at most grocery stores.
What makes Japanese Katsu Bowls special?
Japanese Katsu Bowls are loved for their crispy texture, flavorful ingredients, and versatility. They’re perfect for a comforting meal that can easily be customized with your favorite toppings!
How can I enhance my Japanese Katsu Bowls?
Feel free to add more vegetables like steamed broccoli or carrots as sides. You can also experiment with different sauces or seasonings to create your own twist on this classic dish!
Final Thoughts
I hope you find joy in making these delightful Japanese Katsu Bowls at home! This recipe combines crispy chicken, perfectly seasoned rice, and tangy sauce into an unforgettable meal that’s sure to impress. Enjoy every bite—don’t hesitate to get creative with your toppings! Happy cooking!
Dinner
Japanese Katsu Bowls
If you’re craving a comforting and flavorful meal, look no further than this Japanese Katsu Bowl recipe! Combining crispy, breaded chicken with perfectly seasoned rice and a tangy sauce, this dish is an easy way to bring the authentic taste of Japan into your home. Perfect for busy weeknights or family gatherings, Japanese Katsu Bowls are not only delicious but also customizable to suit everyone’s preferences. With simple ingredients and straightforward instructions, this recipe makes it easy to create a satisfying meal that will impress your loved ones. Once you try it, you’ll want to make it a regular in your dinner rotation!
- Prep Time: 30 minutes
- Cook Time: 30 minutes
- Total Time: 1 hour
- Yield: Serves 4
- Category: Dinner
- Method: Frying
- Cuisine: Japanese
Ingredients
- 2 boneless chicken breasts (or beef loin)
- Salt and pepper, to taste
- 1 cup all-purpose flour
- 2 large eggs
- 1 cup panko breadcrumbs
- Vegetable oil, for frying
- 2 cups Japanese short-grain rice
- 2 ½ cups water
- 1 tablespoon rice vinegar
- 1 tablespoon sugar
- ½ teaspoon salt
- ¼ cup tonkatsu sauce
- 1 tablespoon soy sauce
- 1 teaspoon Worcestershire sauce
- 1 teaspoon ketchup
- 1 cup shredded cabbage
- 2 green onions, sliced
- Sesame seeds, for garnish
- Pickled ginger (optional)
Instructions
- Rinse and soak the rice in cold water for 30 minutes.
- Cook the rice with 2 ½ cups of water; cover and simmer for 15 minutes.
- Season the cooked rice with a mixture of rice vinegar, sugar, and salt.
- Pound chicken breasts to an even thickness; season with salt and pepper.
- Set up a breading station with flour, beaten eggs, and panko.
- Dredge chicken in flour, dip in egg, then coat with panko breadcrumbs.
- Heat oil in a skillet; fry chicken until golden brown on both sides (about 4-5 minutes each).
- Mix tonkatsu sauce, soy sauce, Worcestershire sauce, and ketchup in a bowl.
- Assemble bowls with rice topped by katsu, garnished with cabbage and green onions.
Nutrition
- Serving Size: 1 bowl (approximately 400g)
- Calories: 650
- Sugar: 5g
- Sodium: 890mg
- Fat: 24g
- Saturated Fat: 4g
- Unsaturated Fat: 18g
- Trans Fat: 0g
- Carbohydrates: 82g
- Fiber: 3g
- Protein: 36g
- Cholesterol: 155mg

