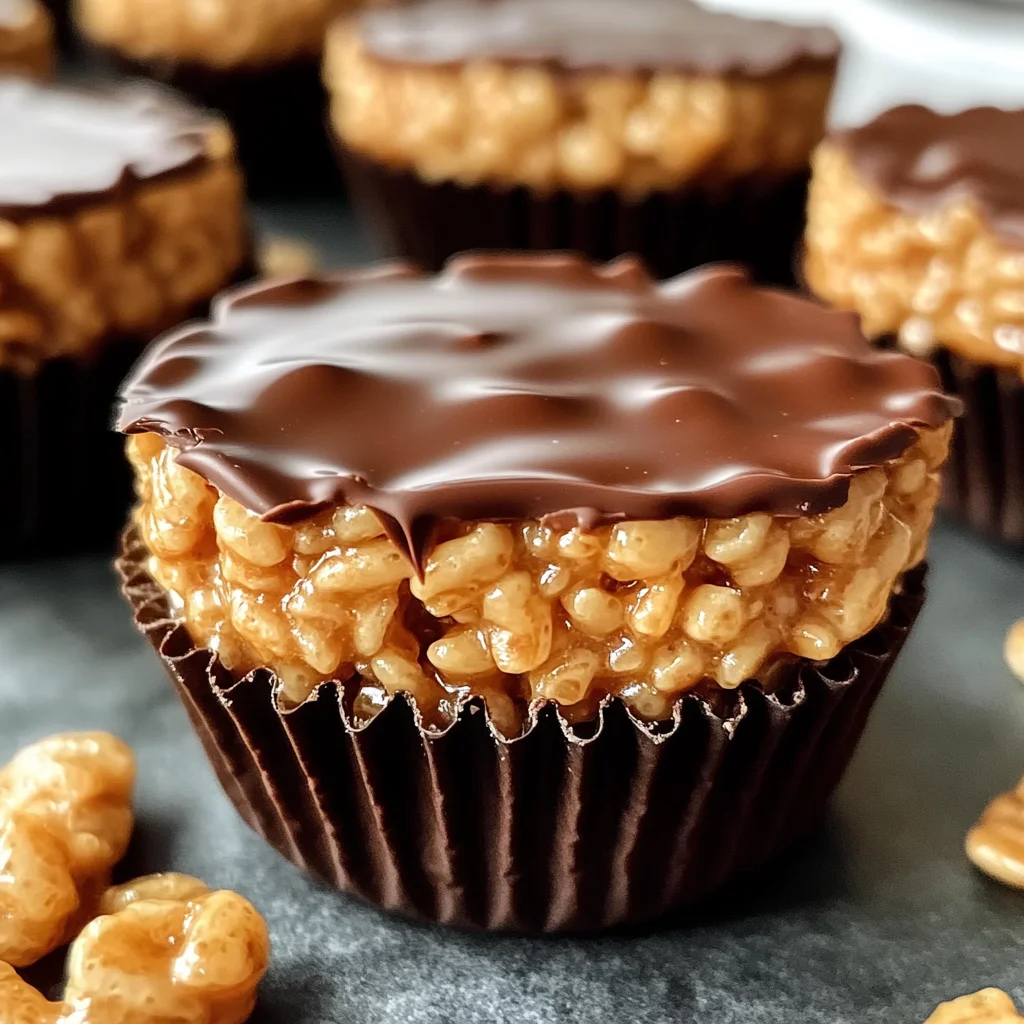
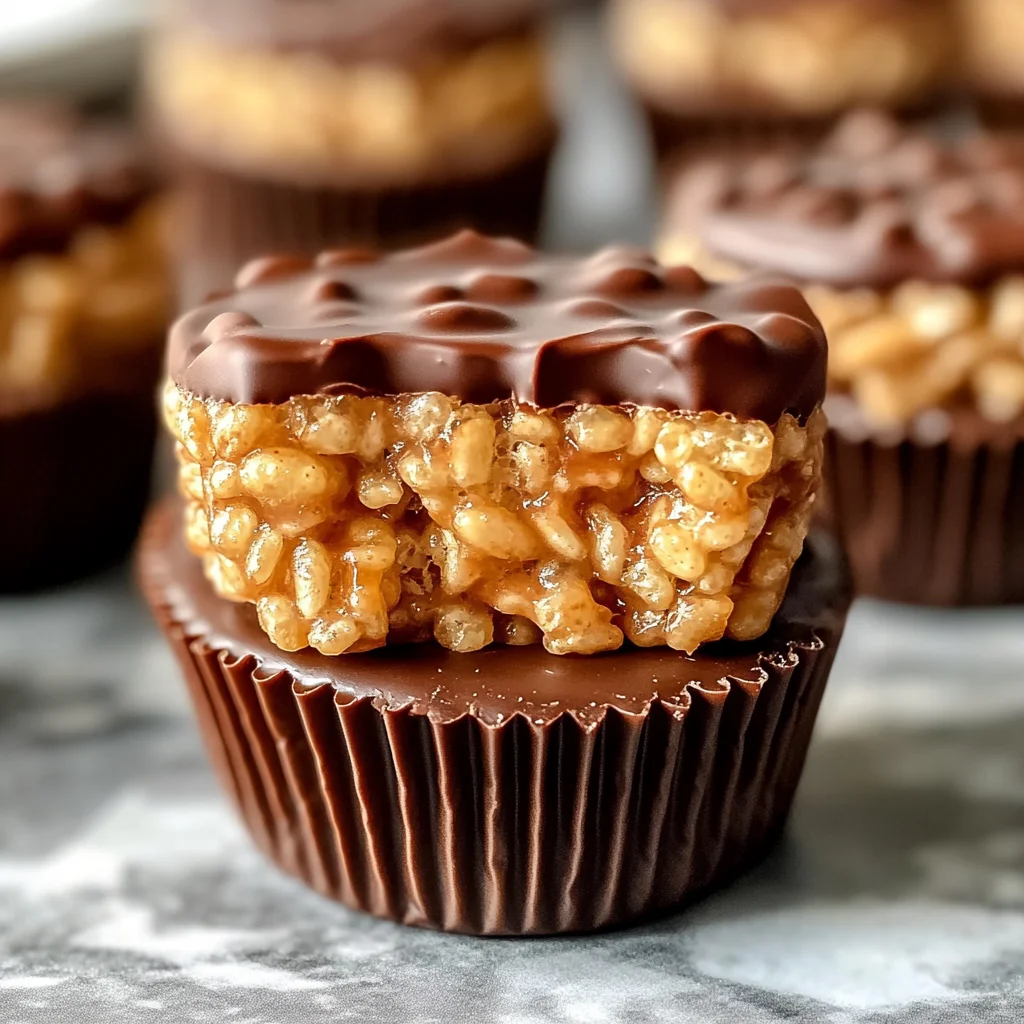
Chocolate Peanut Butter Rice Krispie Cups
If you’re looking for a sweet and satisfying treat that’s as easy to make as it is delicious, you’ve come to the right place! These Chocolate Peanut Butter Rice Krispie Cups are a delightful combination of creamy peanut butter, rich chocolate, and crispy Rice Krispies. This recipe has quickly become a favorite in my home because it’s not only simple but also perfect for any occasion. Whether you’re hosting a party, having a family gathering, or just need a little snack to lift your spirits, these cups will surely hit the spot!
What makes these treats even better is that they are no-bake! That means less time in the kitchen and more time enjoying life’s little moments. I can’t wait for you to try making these delightful cups; I promise they’ll be a hit with everyone!
Why You’ll Love This Recipe
- Quick Preparation: With just 20 minutes from start to finish, you can whip these up in no time!
- Family-Friendly: Kids and adults alike adore the combination of chocolate and peanut butter—perfect for all ages!
- Make-Ahead Treats: These cups store well in the fridge, so you can make them in advance for special occasions.
- Customizable Flavors: Feel free to switch things up with your favorite add-ins or toppings for a personal touch.

Ingredients You’ll Need
These ingredients are simple and wholesome, making it easy to create something delicious without any fuss! Here’s what you’ll need to gather:
- 3 cups Rice Krispies cereal
- 1 cup creamy peanut butter
- 1/2 cup unsalted butter
- 1 cup mini vegan marshmallows
- 1 cup chocolate chips
- 1/2 tsp vanilla extract (optional)
- Pinch of sea salt (optional)
Variations
One of the best things about these Chocolate Peanut Butter Rice Krispie Cups is how flexible they are! You can easily adapt the recipe to suit your taste or dietary needs. Here are some fun ideas:
- Add Some Crunch: Mix in some chopped nuts like almonds or cashews for an extra crunch.
- Switch Up the Chocolate: Use white chocolate chips or dark chocolate for a different flavor profile.
- Make It Nut-Free: Substitute sunflower seed butter for peanut butter if allergies are a concern.
- Boost the Flavor: Add a sprinkle of cinnamon or a dash of coconut flakes for an exciting twist.
How to Make Chocolate Peanut Butter Rice Krispie Cups
Step 1: Melt the Base
In a medium saucepan over low heat, melt the unsalted butter and vegan marshmallows. Stir consistently until everything is smooth. This step is crucial because melting them together creates that gooey base that binds all the ingredients.
Step 2: Add Peanut Butter
Once your mixture is smooth, stir in the creamy peanut butter and optional vanilla extract. Keep mixing until everything is fully combined and creamy. The warmth helps blend everything together beautifully!
Step 3: Mix with Cereal
Pour your melted mixture over 3 cups of Rice Krispies cereal in a large bowl. Gently fold until all the cereal is evenly coated. This ensures each bite has that delicious flavor!
Step 4: Shape the Cups
Line a muffin tin with paper liners. Spoon the Rice Krispie mixture into each cup, pressing down gently to form a flat surface. This helps shape them into perfect little cups that will hold their form when set.
Step 5: Add Chocolate Layer
Melt your chocolate chips in the microwave using short intervals (20 seconds) while stirring in between. Once melted, spoon it over each cup and spread evenly. If desired, sprinkle with sea salt on top—it adds such an amazing contrast!
Step 6: Set & Serve
Allow your cups to cool at room temperature for about 20 minutes or pop them in the refrigerator to set faster. Once they’re firm, remove them from their liners and enjoy! You’ve just created something truly special.
Now go ahead and share these delightful treats with friends and family—you might just find they disappear faster than you can make them!
Pro Tips for Making Chocolate Peanut Butter Rice Krispie Cups
Making these delightful Chocolate Peanut Butter Rice Krispie Cups is a breeze, but a few handy tips can elevate your treat even further!
-
Use high-quality chocolate: Choosing good-quality chocolate chips will enhance the flavor of your cups, making them richer and more indulgent.
-
Don’t overmix the cereal: Gently folding in the Rice Krispies ensures that they stay crispy and don’t get too mushy. This helps maintain that satisfying crunch in every bite.
-
Press firmly but gently: When shaping your cups in the muffin tin, pressing down firmly helps them hold their shape, but be careful not to crush the mixture.
-
Experiment with add-ins: Feel free to add nuts, seeds, or dried fruits for extra texture and flavor. These additions can make each cup unique and tailored to your taste!
-
Store properly: Keep your cups in an airtight container at room temperature for up to a week or in the fridge for longer-lasting freshness. This keeps them from getting too sticky!
How to Serve Chocolate Peanut Butter Rice Krispie Cups
These Chocolate Peanut Butter Rice Krispie Cups are not only delicious but also visually appealing! Here are some fun ways to present them that will impress your friends and family.
Garnishes
- Chopped nuts: Sprinkle some chopped peanuts or almonds on top of the melted chocolate for added crunch and flavor.
- Drizzle of peanut butter: A light drizzle of warmed peanut butter over the chocolate adds a beautiful touch and enhances the peanut butter flavor.
- Cocoa powder dusting: A light dusting of cocoa powder gives a sophisticated look while complementing the chocolatey goodness.
Side Dishes
- Fresh fruit salad: A vibrant mix of seasonal fruits provides a refreshing contrast to the rich sweetness of the cups—perfect for balancing flavors.
- Yogurt parfait: Layer yogurt with granola and berries for a creamy side that adds a healthy element to your dessert spread.
- Nut butter dip: Serve with apple slices or celery sticks dipped in nut butter for a fun and interactive snack that complements the flavors of the cups.
- Herbal tea: Pair these treats with a soothing cup of herbal tea like chamomile or peppermint, which can help cleanse the palate after enjoying something sweet.
Now you’re ready to whip up these delightful Chocolate Peanut Butter Rice Krispie Cups! Enjoy sharing (or keeping) this delicious treat!
Make Ahead and Storage
These Chocolate Peanut Butter Rice Krispie Cups are not only a delightful treat but also perfect for meal prep! You can whip them up ahead of time and enjoy them throughout the week or have them ready for spontaneous gatherings.
Storing Leftovers
- Keep leftover cups in an airtight container at room temperature for up to 5 days.
- For longer freshness, store them in the refrigerator where they will last about a week.
Freezing
- To freeze, place the cups in a single layer on a baking sheet and freeze until solid.
- Once frozen, transfer them to an airtight container or freezer bag, separating layers with parchment paper. They can be stored for up to 2 months.
Reheating
- If you prefer your treats warm, you can microwave individual cups for about 10-15 seconds until just warmed through.
- Avoid overheating to maintain their texture and flavor.
FAQs
Here are some frequently asked questions about these tasty treats!
Can I use different cereals for Chocolate Peanut Butter Rice Krispie Cups?
Absolutely! While Rice Krispies give that classic crunch, you can substitute with other crispy cereals like Corn Pops or even gluten-free options if needed.
How do I make Chocolate Peanut Butter Rice Krispie Cups vegan?
This recipe is already vegan-friendly by using dairy-free butter and chocolate chips as well as vegan marshmallows. Just double-check your ingredients to ensure they’re all plant-based!
What can I add to my Chocolate Peanut Butter Rice Krispie Cups?
Feel free to mix in nuts, seeds, dried fruits, or even sprinkles for extra flair! Adjusting the recipe allows you to customize it according to your taste preferences.
Do Chocolate Peanut Butter Rice Krispie Cups need refrigeration?
They don’t necessarily need refrigeration if consumed within a few days. However, if you want to keep them fresh longer, storing them in the fridge is a great option!
Final Thoughts
I hope this recipe brings as much joy to your kitchen as it does to mine! These Chocolate Peanut Butter Rice Krispie Cups are not just easy to make; they’re a nostalgic treat that everyone loves. Enjoy crafting these delightful bites and sharing them with friends and family. Happy snacking!
Chocolate Peanut Butter Rice Krispie Cups
Indulge in the delightful world of Chocolate Peanut Butter Rice Krispie Cups – a no-bake treat that’s sure to become a favorite in your household. This blissful combination of creamy peanut butter, rich chocolate, and crispy Rice Krispies creates a snack that’s as satisfying as it is easy to make. Perfect for family gatherings, parties, or simply as an afternoon pick-me-up, these charming cups come together in just 20 minutes. With their irresistible flavor and customizable options, you’ll love sharing (or not!) this sweet treat with friends and family!
- Prep Time: 10 minutes
- Cook Time: 10 minutes
- Total Time: 20 minutes
- Yield: Makes approximately 12 cups 1x
- Category: Dessert
- Method: No-bake
- Cuisine: American
Ingredients
- 3 cups Rice Krispies cereal
- 1 cup creamy peanut butter
- 1/2 cup unsalted butter
- 1 cup mini vegan marshmallows
- 1 cup chocolate chips
- 1/2 tsp vanilla extract (optional)
- Pinch of sea salt (optional)
Instructions
- In a medium saucepan over low heat, melt the unsalted butter and vegan marshmallows while stirring until smooth.
- Stir in the creamy peanut butter and optional vanilla extract until fully combined.
- Pour the melted mixture over the Rice Krispies in a large bowl and gently fold until evenly coated.
- Line a muffin tin with paper liners and spoon the mixture into each cup, pressing down gently to shape them.
- Melt the chocolate chips in the microwave at short intervals, then spoon over each cup and spread evenly. Optionally sprinkle with sea salt.
- Allow to cool at room temperature for about 20 minutes or refrigerate until set before enjoying.
Nutrition
- Serving Size: 1 rice krispie cup (40g)
- Calories: 170
- Sugar: 12g
- Sodium: 85mg
- Fat: 9g
- Saturated Fat: 3g
- Unsaturated Fat: 6g
- Trans Fat: 0g
- Carbohydrates: 20g
- Fiber: 1g
- Protein: 3g
- Cholesterol: 0mg