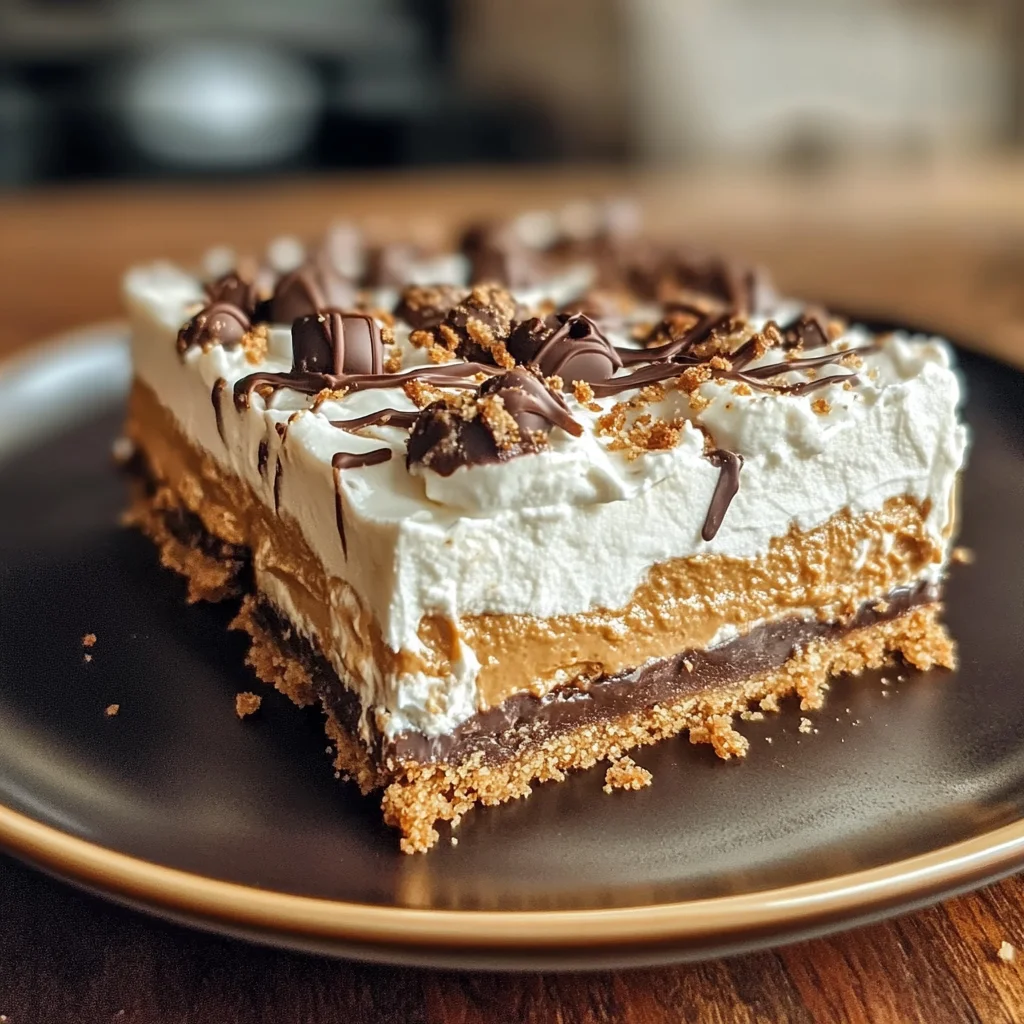
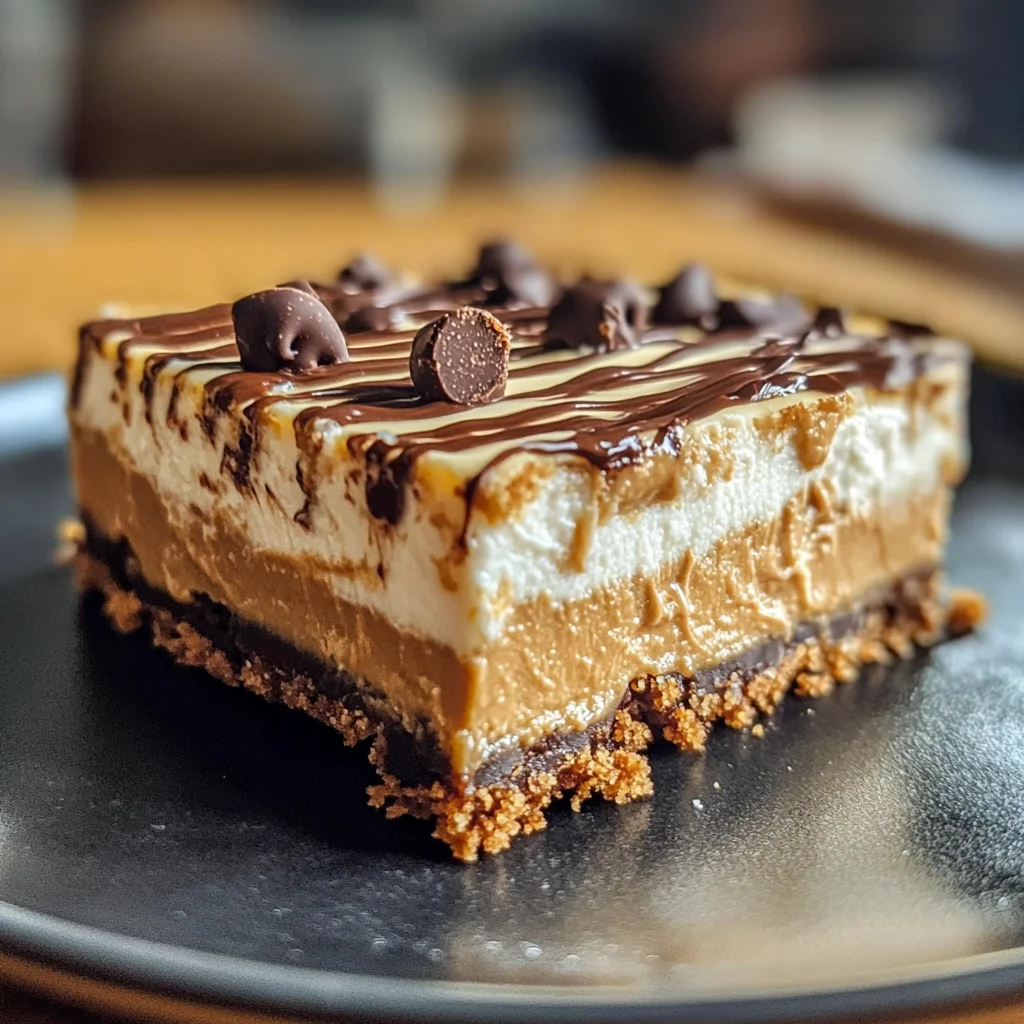
No Bake Peanut Butter Cheesecake Bars
If you’re looking for a dessert that’s both indulgent and super easy to whip up, you’ve come to the right place! No Bake Peanut Butter Cheesecake Bars are the ultimate treat for anyone who loves the rich flavor of peanut butter. This recipe is close to my heart because it combines creamy goodness with a crunchy base, making it a delightful ending to any meal. Whether you’re hosting friends, celebrating a special occasion, or simply treating yourself after a long day, these bars will surely bring smiles all around.
The best part? You don’t even need to turn on your oven! With just a few simple ingredients, you can create a stunning dessert that looks as good as it tastes. Trust me, once you try this recipe, it will become a go-to favorite in your kitchen.
Why You’ll Love This Recipe
- Quick and Easy: You can make these bars in no time with minimal effort!
- Family-Friendly: Everyone loves peanut butter! This dessert is sure to please kids and adults alike.
- Make-Ahead Convenience: Prepare ahead of time and store in the fridge for an easy grab-and-go treat.
- Deliciously Customizable: Add your personal touch with toppings like chocolate drizzle or crushed nuts.
- No Baking Required: Enjoy all the flavors of cheesecake without the need for an oven!

Ingredients You’ll Need
To create these heavenly No Bake Peanut Butter Cheesecake Bars, you only need some simple and wholesome ingredients that are easily accessible. Here’s what you’ll need:
For the Crust
- Graham cracker crumbs
- Unsalted butter, melted
- Brown sugar
For the Cheesecake Filling
- Cream cheese, softened
- Peanut butter
- Powdered sugar
- Vanilla extract
- Non-dairy whipped topping (or similar alternative)
Variations
One of the best things about this recipe is its flexibility! You can easily tweak it to suit your taste or dietary needs. Here are some fun ideas:
- Add Some Crunch: Stir in chopped nuts like peanuts or almonds for an extra layer of texture.
- Swap Out the Peanut Butter: If you’re feeling adventurous, try using almond butter or sunflower seed butter instead.
- Change Up the Toppings: Drizzle with caramel sauce or sprinkle with mini chocolate chips for added sweetness.
- Make It Chocolatey: Incorporate cocoa powder into the cheesecake filling for a chocolate-peanut butter twist.
How to Make No Bake Peanut Butter Cheesecake Bars
Step 1: Prepare the Crust
Start by mixing together graham cracker crumbs, melted unsalted butter, and brown sugar in a bowl. This mixture forms the perfect base for our cheesecake bars. Press it firmly into a lined baking dish so it holds together nicely when you slice it later. A solid crust sets the stage for all those creamy layers on top!
Step 2: Make the Cheesecake Filling
In another bowl, beat softened cream cheese until it’s smooth and creamy. Then add in peanut butter, powdered sugar, vanilla extract, and non-dairy whipped topping. Mixing these ingredients creates a luscious filling that balances perfectly with the crunchy crust. Make sure there are no lumps so every bite is silky smooth!
Step 3: Assemble Your Bars
Once your filling is ready, spread it evenly over your prepared crust. Use a spatula to smooth out the top; this step ensures each bar has that beautiful finish when cut. It’s really satisfying to see everything come together!
Step 4: Chill and Serve
Now comes the hard part—waiting! Cover your baking dish and refrigerate the bars for at least four hours (or overnight if you can resist). Chilling allows them to set properly so they cut into perfect squares later. Once they’re ready, slice them up and enjoy your amazing No Bake Peanut Butter Cheesecake Bars!
Pro Tips for Making No Bake Peanut Butter Cheesecake Bars
Creating the perfect No Bake Peanut Butter Cheesecake Bars is a breeze with these handy tips!
-
Use Room Temperature Ingredients: Allow your cream cheese and peanut butter to sit at room temperature before mixing. This ensures a smoother, creamier filling that’s easy to spread.
-
Chill Thoroughly: After assembling your bars, let them chill in the refrigerator for at least four hours, or overnight if possible. This helps them set properly, making them easier to cut and serve.
-
Opt for Natural Peanut Butter: Using natural peanut butter not only enhances the flavor but also provides a healthier option without added sugars or oils. The rich taste will elevate your cheesecake bars even more!
-
Line Your Pan: Before pressing in the crust mixture, line your pan with parchment paper. This small step makes it so much easier to lift out the bars once they’re chilled, allowing for clean cuts and presentation.
-
Experiment with Toppings: Feel free to get creative with toppings! You can add crushed nuts, chocolate chips, or even fresh fruit to make each serving unique and visually appealing.
How to Serve No Bake Peanut Butter Cheesecake Bars
Presentation can make all the difference when serving your No Bake Peanut Butter Cheesecake Bars! Here are some delightful ways to present this dessert.
Garnishes
- Whipped Coconut Cream: A dollop of whipped coconut cream on top adds a light and airy touch that complements the rich cheesecake beautifully.
- Chopped Peanuts: Sprinkle some chopped peanuts over the top for an extra crunch and a burst of nutty flavor that pairs perfectly with peanut butter.
- Chocolate Drizzle: Drizzling melted dairy-free chocolate over the bars makes for an indulgent finishing touch that any chocolate lover will adore.
Side Dishes
- Fresh Fruit Salad: A refreshing fruit salad brings a bright contrast to the rich bars. Consider using berries, melons, and citrus for a colorful mix.
- Dairy-Free Ice Cream: Pairing these cheesecake bars with a scoop of dairy-free ice cream creates a delightful treat that’s both creamy and satisfying.
- Coffee or Tea: Serving coffee or herbal tea alongside these bars enhances their flavors and provides a warm beverage option for guests.
- Nutty Granola: A side of nutty granola adds crunch and texture to your dessert table, making it perfect for those who love a bit of crunch with their sweet treats.
With these tips and serving ideas, you’ll create not only delicious No Bake Peanut Butter Cheesecake Bars but also an inviting dessert experience that everyone will enjoy!
Make Ahead and Storage
These No Bake Peanut Butter Cheesecake Bars are perfect for meal prep, allowing you to enjoy a delicious treat whenever the craving strikes. Here’s how to store them properly and keep them fresh.
Storing Leftovers
- Allow the bars to cool completely before storing.
- Cut the bars into squares and place them in an airtight container.
- Store in the refrigerator for up to one week.
- For added freshness, place parchment paper between layers if stacking.
Freezing
- Cut the bars into squares before freezing for easy portions.
- Wrap each square tightly in plastic wrap or foil.
- Place wrapped squares in a freezer-safe bag or container.
- Freeze for up to three months; simply thaw in the fridge before serving.
Reheating
- These bars are best enjoyed chilled or at room temperature.
- If you prefer a slightly softer texture, let them sit out for about 10-15 minutes before serving.
- Avoid microwaving, as it can alter the texture of the cheesecake layer.
FAQs
Got questions? We’ve got answers! Here are some common queries about making No Bake Peanut Butter Cheesecake Bars.
Can I use natural peanut butter for No Bake Peanut Butter Cheesecake Bars?
Absolutely! Natural peanut butter works wonderfully in this recipe. Just make sure it’s well-stirred and not too runny.
How do I make No Bake Peanut Butter Cheesecake Bars gluten-free?
To make these bars gluten-free, simply use gluten-free graham crackers or crushed nuts as a substitute for the crust. They will still turn out delicious!
Can I add other toppings to my No Bake Peanut Butter Cheesecake Bars?
Definitely! Feel free to add toppings like crushed nuts, coconut flakes, or even fresh berries. Get creative!
How long do No Bake Peanut Butter Cheesecake Bars last?
When stored properly in the refrigerator, these bars can last up to one week. They also freeze well for up to three months!
Final Thoughts
I hope you’re as excited as I am to whip up these delightful No Bake Peanut Butter Cheesecake Bars! They’re not only easy to prepare but also packed with flavor that everyone will love. Whether you’re treating yourself after a long day or preparing for a gathering, these bars will surely impress. Enjoy making this special dessert and don’t hesitate to share your creations with friends and family!
No Bake Peanut Butter Cheesecake Bars
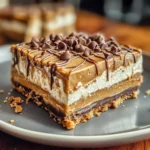
Indulge in the creamy goodness of No Bake Peanut Butter Cheesecake Bars, a dessert that’s as delightful to make as it is to eat! These bars feature a crunchy graham cracker crust topped with a rich peanut butter cheesecake filling, all without needing to turn on the oven. Perfect for any occasion, from casual family dinners to festive gatherings, they are sure to become a crowd favorite. Plus, they’re easy to customize with your choice of toppings! Whether you enjoy them chilled straight from the fridge or paired with fresh fruit salad, these bars promise a satisfyingly sweet experience.
- Prep Time: 20 minutes
- Cook Time: 0 minutes
- Total Time: 20 minutes
- Yield: Makes about 12 servings
- Category: Dessert
- Method: No baking required
- Cuisine: American
Ingredients
- Graham cracker crumbs
- Unsalted butter
- Brown sugar
- Cream cheese
- Peanut butter
- Powdered sugar
- Vanilla extract
- Non-dairy whipped topping
Instructions
- For the crust, mix graham cracker crumbs, melted unsalted butter, and brown sugar in a bowl. Press firmly into a lined baking dish.
- In another bowl, beat softened cream cheese until smooth. Add peanut butter, powdered sugar, vanilla extract, and non-dairy whipped topping; mix until creamy.
- Spread the cheesecake filling evenly over the crust and smooth out the top with a spatula.
- Cover and refrigerate for at least four hours or overnight to set. Slice into squares and serve chilled.
Nutrition
- Serving Size: 1 serving
- Calories: 150
- Sugar: 10g
- Sodium: 100mg
- Fat: 9g
- Saturated Fat: 4g
- Unsaturated Fat: 5g
- Trans Fat: 0g
- Carbohydrates: 14g
- Fiber: 1g
- Protein: 3g
- Cholesterol: 20mg